How to Prepare Your Files for Mixing and Mastering

A Guide to Preparing Files for Mixing and Mastering
Hi! Maybe you’ve got it all figured out, maybe you’re starting from scratch, or perhaps you’re somewhere in between. No matter where you are, I’ve teamed up with Upsound to create this guide that explains how I, as a sound engineer, prefer to receive the files you’ve worked so hard to record perfectly. The goal? To ensure a smoother process and the best possible final result—because as they say: Garbage in, garbage out.

A Personal Approach
It’s important to note that this guide reflects my way of doing things. Not all sound engineers work the same way, and some of the tips I share here might differ from what others prefer. So, take these insights as inspiration—and always check with the sound engineer you’re working with to understand their specific requirements.

Find the Right Sound Engineer
Looking to mix and master your music? Want to find a sound engineer who fits your style and budget? Check out our list of engineers here and connect with the one that suits your project best.

With that said—let’s get started!
Audio Files Upsound

Formatting and Exporting Files for Mixing and Mastering

When preparing your files for mixing and mastering, it's essential to ensure the format and organization are spot-on. Here's a guide to how I prefer to receive your files:

  1. Audio Files as WAV
    Export all individual audio files or stems as WAV files. Use the same sample rate and bit depth as the original recording session. My recommendation:
    Sample Rate: 44.1 kHz
    Bit Depth: 24-bit

  2. MIDI Instruments
    If you're working with MIDI instruments like bass or drums, you can send these as MIDI files, which I can import into software such as Kontakt5.

  3. Synths and Strings
    Synths and string sections should be exported as audio files. Ensure each instrument is on its own track. For example:
    Violins, cellos, piano, and trumpets should all be exported separately as individual files.

  4. Naming Your Files
    Give your files
    clear and practical names.

    Good Examples: "Sn T" for Snare Top or "Gtr Lead" for Guitar Lead
    Avoid: Creative or cryptic names like "Diddle-diddle-diddliddle" or random lyrics. Names should be functional and recognizable, even for someone unfamiliar with your music.

  5. Stems for Live Use or Backing Tracks
    If you need stems for a live setup or backing tracks, this should be arranged during the mixing process.

  6. Multiple Songs in One Session
    If you're sending multiple songs, there are two ways to organize them:

    Export all tracks for each song separately, keeping them in individual sessions.

    Export everything as one long session. For example: if Song 1 lasts 4 minutes and Song 2 lasts 3 minutes, all tracks should stretch to a total of 7 minutes. In this case, ensure the MIDI aligns with tempo changes and everything is correctly positioned on the timeline.

By following these guidelines, the process becomes much smoother, and the final result will shine. Let’s make sure your music gets the professional treatment it deserves!

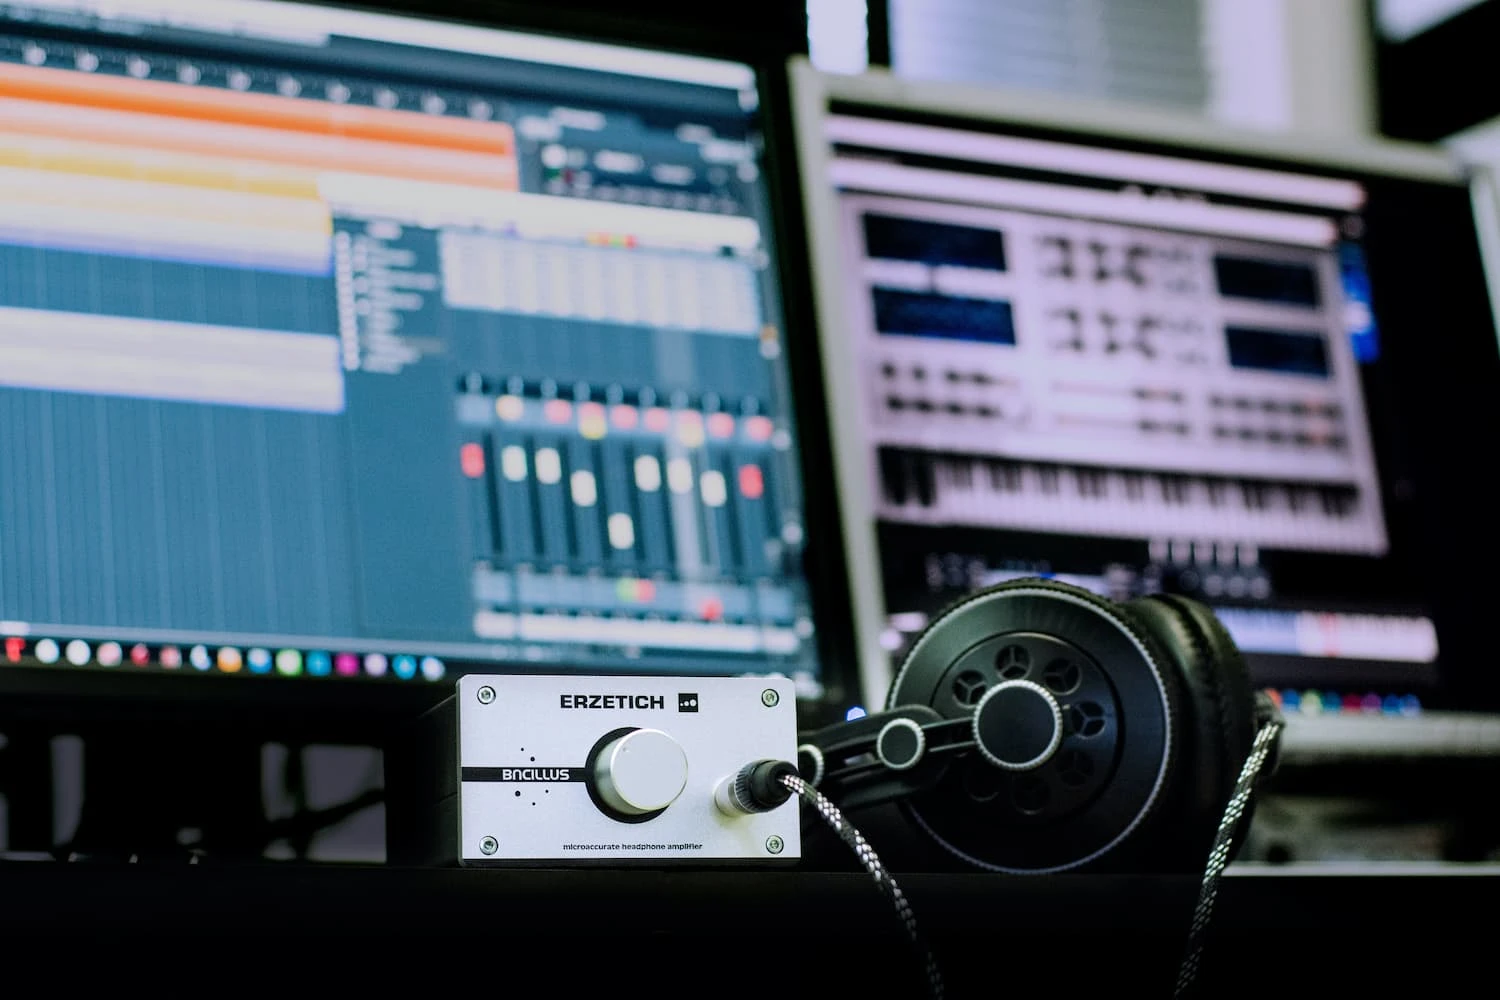
Recording & Editing (BEFORE Mixing)

To ensure a smooth mixing process and the best possible results, your recordings and edits need to be on point. Here's what to keep in mind:

  1. Tempo Map and MIDI File
    Including a tempo map and MIDI file is a
    must. Whether or not you’ve programmed drums, I need a file that ensures the song’s tempo (or tempos) aligns correctly in my session. This is especially critical for songs with tempo changes.

    How to Export a Tempo Map: Most DAWs have this function under “Export MIDI” or similar. If you're unsure how, platforms like YouTube or music production forums on Facebook are excellent resources.

  2. Gain Structure
    Ensure none of your tracks are clipped or too quiet. Ideally, your tracks should peak between
    -18 dB and -6 dB to provide sufficient headroom for mixing.

  3. Track Editing
    Tracks should be well-edited before sending. This means:

    Tight to the Grid: Especially important for genres like modern metal, where precision is key.
    Cleaned of Unnecessary Noise: Remove background noise between vocal takes, amp noise from guitars or bass, and any excessive tom bleed.

  4. String Instruments
    For guitars and bass:

    Use fresh strings to ensure the best tone.
    Tune your instrument before each take to maintain proper intonation and tonal quality.

  5. Optional Editing Services
    I offer additional editing services if needed, but this must be discussed and agreed upon in advance.

By following these guidelines, we can save time, avoid potential issues, and ensure your project achieves the highest quality in the mixing process.

Recorded Drums and MIDI Drums

I am happy to work with both recorded drums and MIDI drums, so you can choose what best suits your project.

  • If you’re sending MIDI drums:
    Make sure to include a sheet with your ‘drum MIDI assignments.’ This makes it easier for me to understand how the drums are programmed and ensures everything functions correctly in my session.

A clear structure and detailed information save time and ensure the drums sound exactly the way you want them to.

Guitars and Basses

To ensure maximum flexibility and the best possible result, here are some clear guidelines for guitar and bass files:

  1. DI Tracks are a Must
    I
    always need DI tracks (Direct Input) for both guitars and basses. This is essential for reamping, allowing me to craft a sound tailored specifically to your project. DI tracks also provide the opportunity to adjust or experiment with different amp and effect combinations later in the process.

  2. Tracks with Effects
    If you’ve put time and energy into creating great guitar leads or achieving the perfect reverb, delay, or modulation, please send both:

    The DI tracks
    The tracks with your effects

This way, I can preserve and build on the sound you’re proud of while still having the flexibility to tweak or enhance the tone if needed.

By providing both DI tracks and tracks with effects, we can strike a balance between your vision and the professional adjustments that take your project to the next level.

Vocals

When it comes to vocals, keeping everything organized is crucial to ensure an efficient mixing process—especially when I’m working with metal music.

  1. Separation of Vocal Types
    If your vocal tracks include both screams/growls and clean singing, these need to be on
    separate tracks. This makes it easier to process them individually and achieve the dynamic contrast that is often characteristic of the genre.

    Screams/Growls: Ensure these tracks are clean and free from excess noise.
    Clean Singing: Deliver these tracks in the same format as the other files and ensure a clear recording without too much reverb or background noise.

A clear separation of vocal types makes it much easier to achieve the right mix and ensures that each vocal style gets the treatment it deserves to fit perfectly into the final production.

The Mix and Mastering Process

I offer up to three revisions for mix adjustments to ensure the final result meets your expectations. Here’s how the process typically works:

  1. Start with a Test Mix
    Before diving into mixing and mastering an entire project—such as an EP or album—I always begin with a
    test mix of one song.

    Purpose: To make sure we are on the same page regarding the sound.

    The test mix allows you to evaluate elements like drum tones, bass, guitars, and the overall balance of the mix.

    It’s your opportunity to assess whether I’ve nailed the sound you’re aiming for or if adjustments are needed.

  2. Revisions During the Test Process
    Any revisions during the test mix phase
    do not count toward the three mix revisions included in the final project. For this reason, it’s essential that you approve the test mix before we move on to the remaining songs.

  3. Processing the Rest of the Project
    Once the test mix is approved, I move on to the rest of the songs. They will be treated with the
    same sound and style as the reference established in the test mix.

With this approach, we ensure a consistent sound throughout the entire project and avoid any misunderstandings along the way. The goal is always to deliver a mix and master that aligns with your vision and makes the music sound exactly how you imagined.

Revisions

To ensure we achieve the perfect final result, we’ll work through up to three revision rounds. Here’s how the process works:

  1. First Delivery
    I deliver the full project - either as individual files for each song or as one continuous file, depending on how you’ve organized it (as mentioned earlier).

  2. Your Feedback
    Take the time you need to listen carefully to the project and provide detailed feedback.

    Examples include:
    “Turn up the guitars at xx:xx.”
    “Bring the vocals down slightly at xx:xx.”

  3. Implementing Changes
    I implement your feedback as quickly as possible and send back the updated files.

  4. Rounds 2 and 3
    This process is repeated for the
    second and third revision rounds, if further adjustments are needed.

Important to Note:
Additional revisions are always free if the issues are due to my errors, such as:

  • Digital noise

  • Clicks/pops

  • Muted tracks

  • Other technical faults

Final Delivery:

Once revisions are complete: Congratulations! Your project is now fully mixed and mastered, ready for release. I’ll deliver the final files through Upsound, ensuring they remain uncompressed and sound exactly as they should!

Book the studio that suits you. Filter by location, price, equipment, and much more.
“It has never been easier to rent a recording studio.”

Book the studio that suits you. Filter by location, price, equipment, and much more.

Find all our studios right here!