What is a DAW and which one should I choose?

DAW 1 Upsound

What is a DAW?

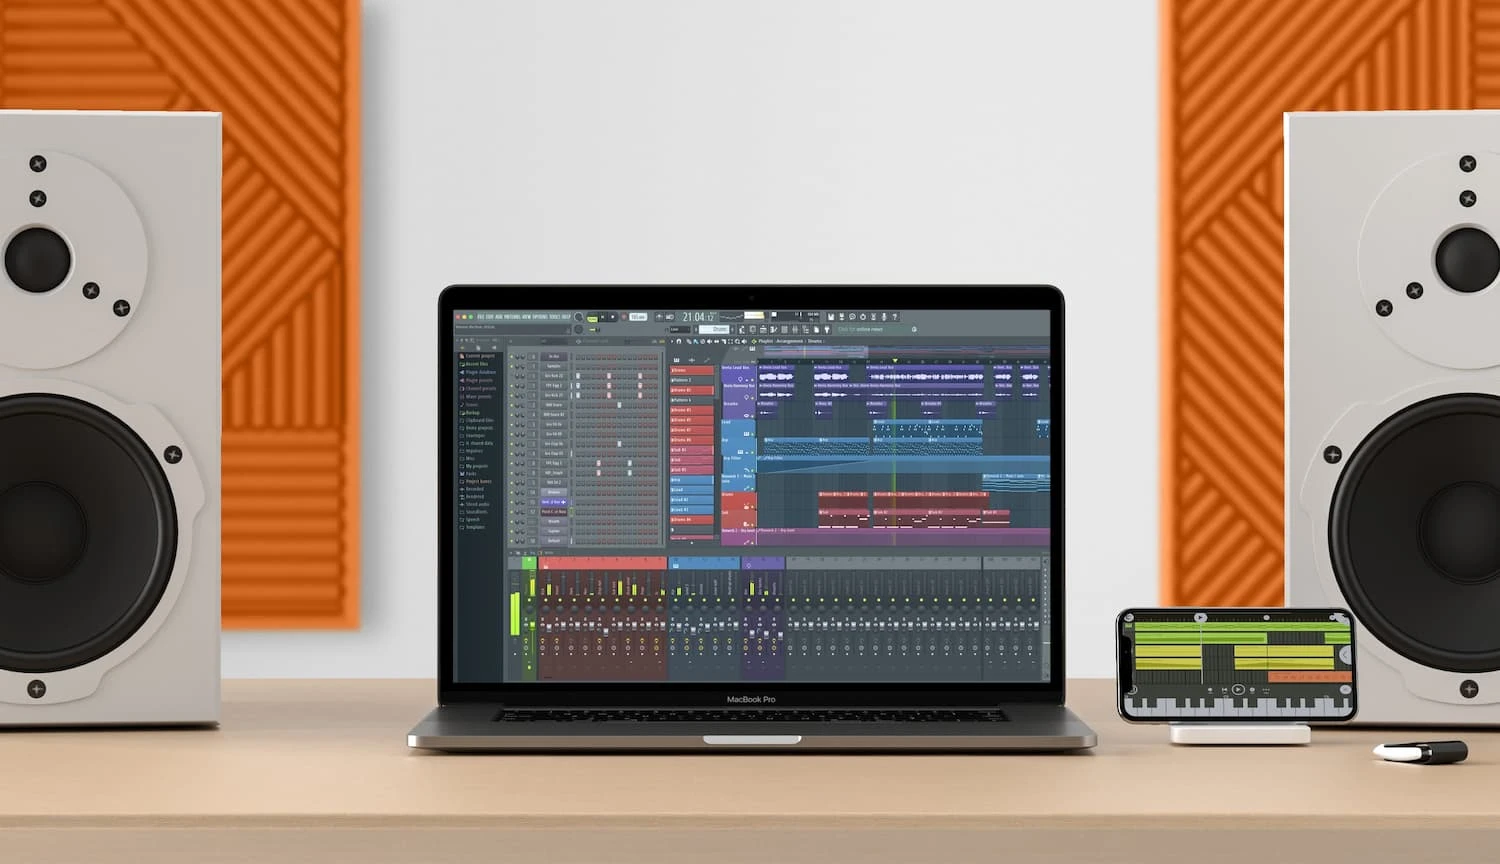
DAW stands for Digital Audio Workstation. This term refers to audio software that musicians use to create music and edit audio files. You can compare it to a workshop where the essential tools are included in the package. You can always expand with more tools if you need them.

At first, all DAWs may seem overwhelming, especially if you're just starting with music. But even experienced users can struggle to remember all the features of a DAW. There are countless ways to manipulate sounds and advanced production techniques, so you could theoretically spend years learning everything. Regardless of which DAW you choose, the key is to take it one step at a time and keep using it until you start to get the hang of it—just like with an instrument.

The first thing you should consider is: "What do I want to use the DAW for?" If you only need to record a little vocal now and then, one program might be more suitable, while another might be the way to go if you want to create complex productions with tempo changes. We'll differentiate between traditional production (recording and editing), beat making (loops and samples), and idea sketching (recording and arranging).

If you’re about to choose your very first DAW, it’s a good idea to consider whether you know anyone who is familiar with one of the programs. If you have a friend who is willing to help you get started with the software, it can be an enormous help in the beginning.

Which DAW is the best?

The best DAW is the one that works for you. There isn't one DAW that is inherently better than another. It’s about how you use it. Essentially, you can do the same things in all the major DAWs. The key features are similar across all of them, so what matters is your way of working. The biggest difference between them is the workflow, and that’s what we will look at in this guide as we compare them. Some DAWs may be better suited for one purpose, while they might not be as pleasant to work with for another.

There are many DAWs, but we have initially looked at a handful of the most popular ones: Logic Pro, Ableton Live, Pro Tools, FL Studio, GarageBand, and Reaper. Feel free to reach out to us if you have a specific DAW you’d like us to compare! Many of the programs offer free trial versions, so the first piece of advice is to try out the different programs. Play around with them and see which one you enjoy working with the most. If you find one that feels comfortable and makes it fun to work with your sound, it can help keep your motivation up (especially important in the beginning!). Depending on which DAW you choose, you may need to expand with plugins.

What are plugins?

If we say a DAW is your workshop, then plugins are like the tools you have lying around. You usually find them in VST format (Virtual Studio Technology). Once you've chosen a DAW, you can get quite far with the stock plugins that come with the program. It can really pay off to play around with them and learn what they do before you invest in any new ones. Many popular paid plugins can often perform the same functions as stock plugins; the difference usually lies in the technical details of how they operate and in their visual design. If you need to remove the high frequencies from an instrument, any LP filter can typically get the job done, but the sound may vary depending on how each filter plugin handles the resonance (Q) function.

Enough about that—let's take a look at the programs.

Ableton 1 Upsound

Ableton Live

Udgaver: Lite - Intro - Standard - Suite

Good for: beatmaking, composing/arranging, live performances.  

Ableton Live has a strong reputation among electronic musicians and is also known for being well-suited for live performances. It may not be the easiest program to get into if you’re starting from scratch, but with a bit of practice, you can quickly capture your ideas—and suddenly it can become an indispensable workshop for seizing inspiration.  

While many claim the program is intuitive, it’s important to remember that everyone works differently, so you may not feel it’s that easy to use. That said, Ableton has some features that make it easier to work with audio clips and MIDI compared to other programs.  

Workflow

One thing that makes Live unique is that the program has two main windows: “Session View” and “Arrangement View.” The two views lend themselves to two different ways of working.  

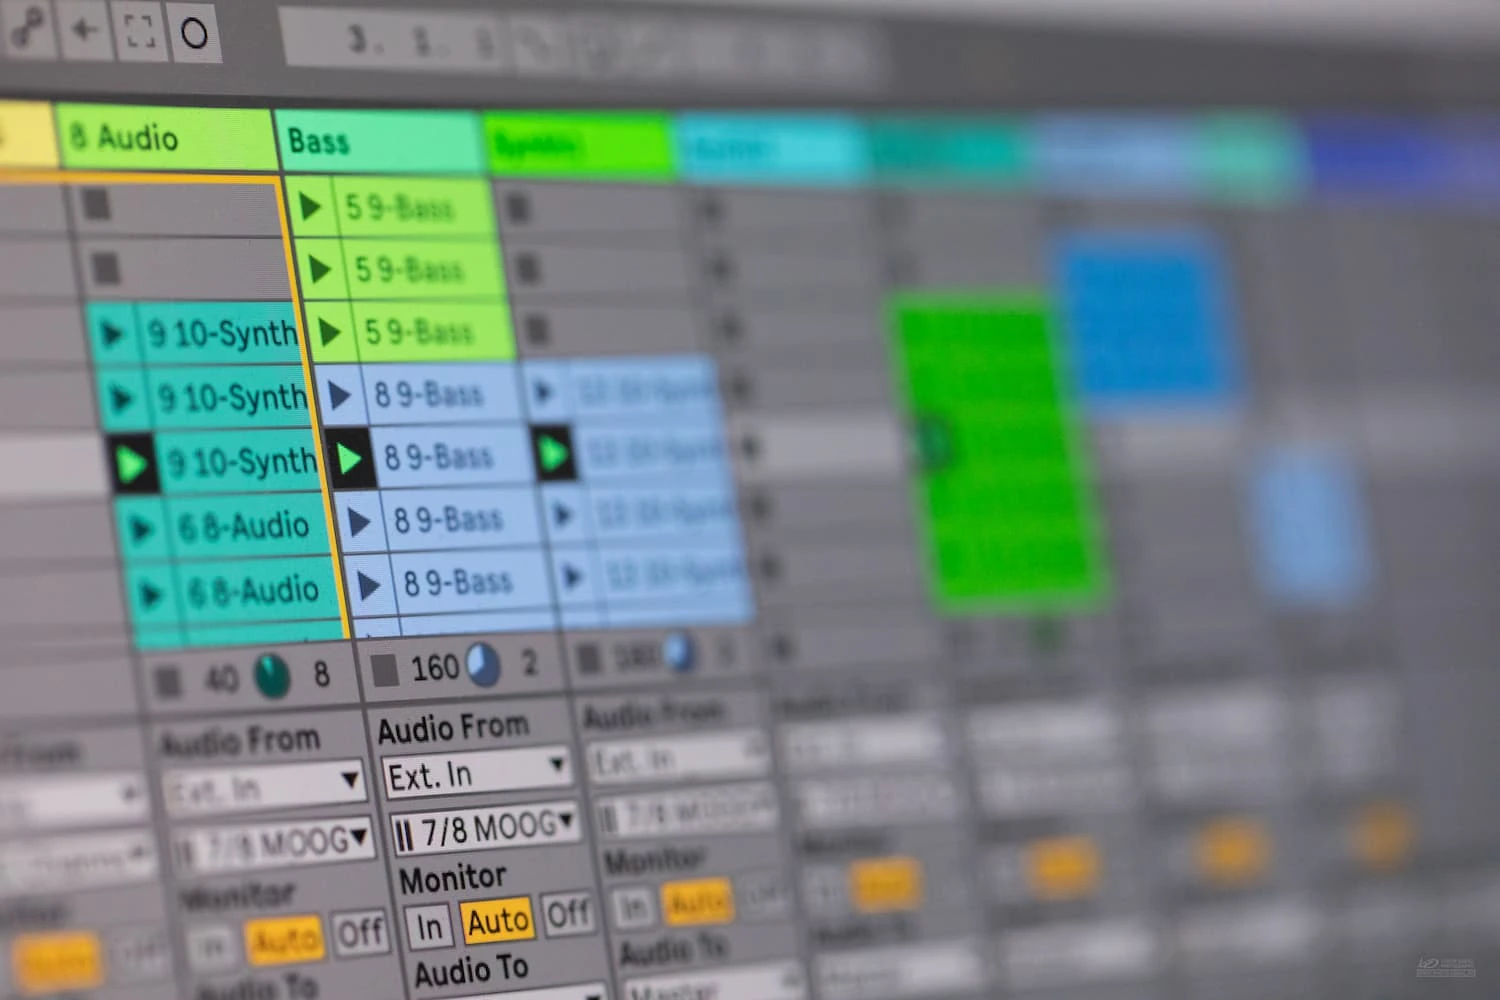
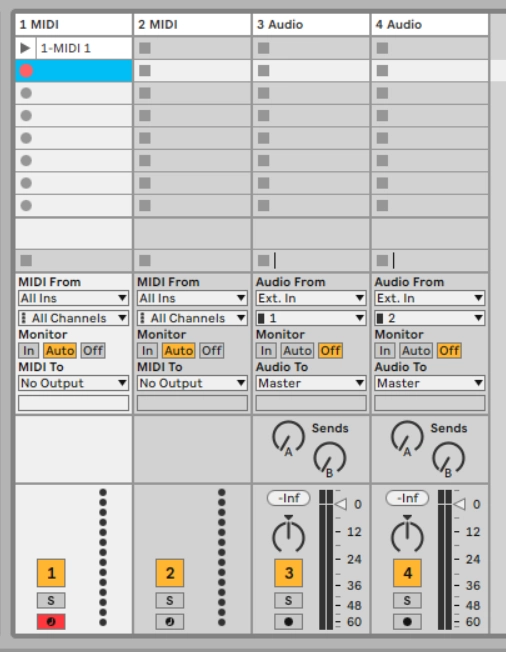
Session View is great to work in if your workflow involves loops, thanks to “clips.” Clips might also be the reason electronic musicians enjoy this workflow. Once you’ve recorded the first clip, you can easily record the next clip while the previous one plays in the background. You can continue this process until you’ve built a “groove” with all the loops you need. In this way, Session View offers a simple way to capture ideas—you just activate a clip and record your idea. Once you’ve created all the clips/loops you need, you can drag them over to Arrangement View if you need to lay out a structure on a timeline.

Clips i Ableton
Clips can easily be 'triggered' in the order you want them to play.

Clips i Ableton

That's also one of the things that makes Ableton so suitable for live performances, as you can ultimately control all clips with a MIDI controller.

Ableton Arrangement view

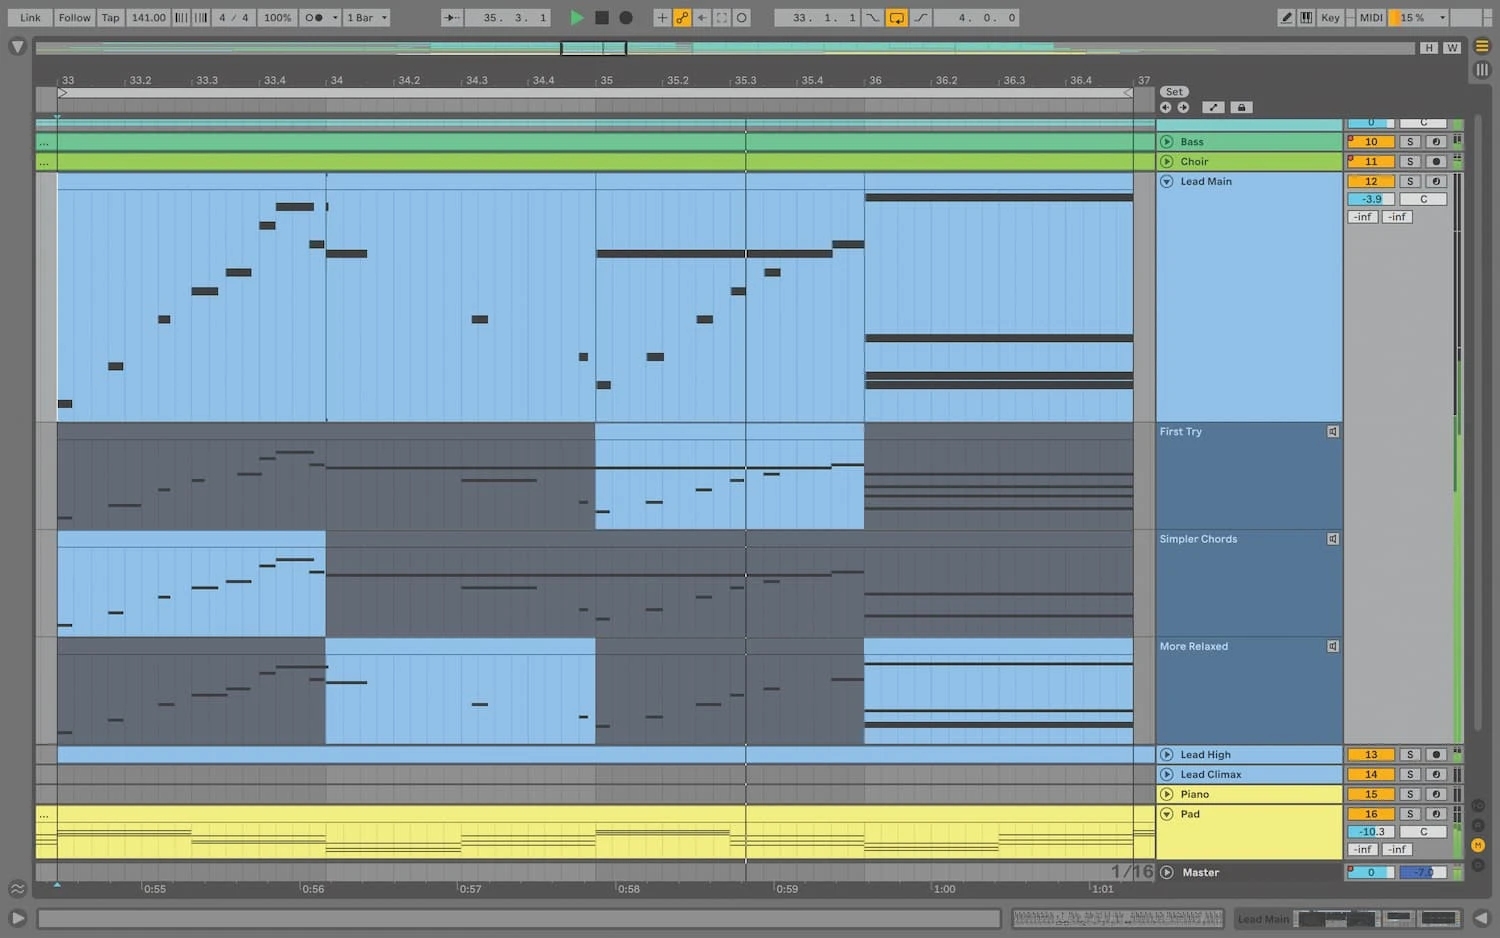
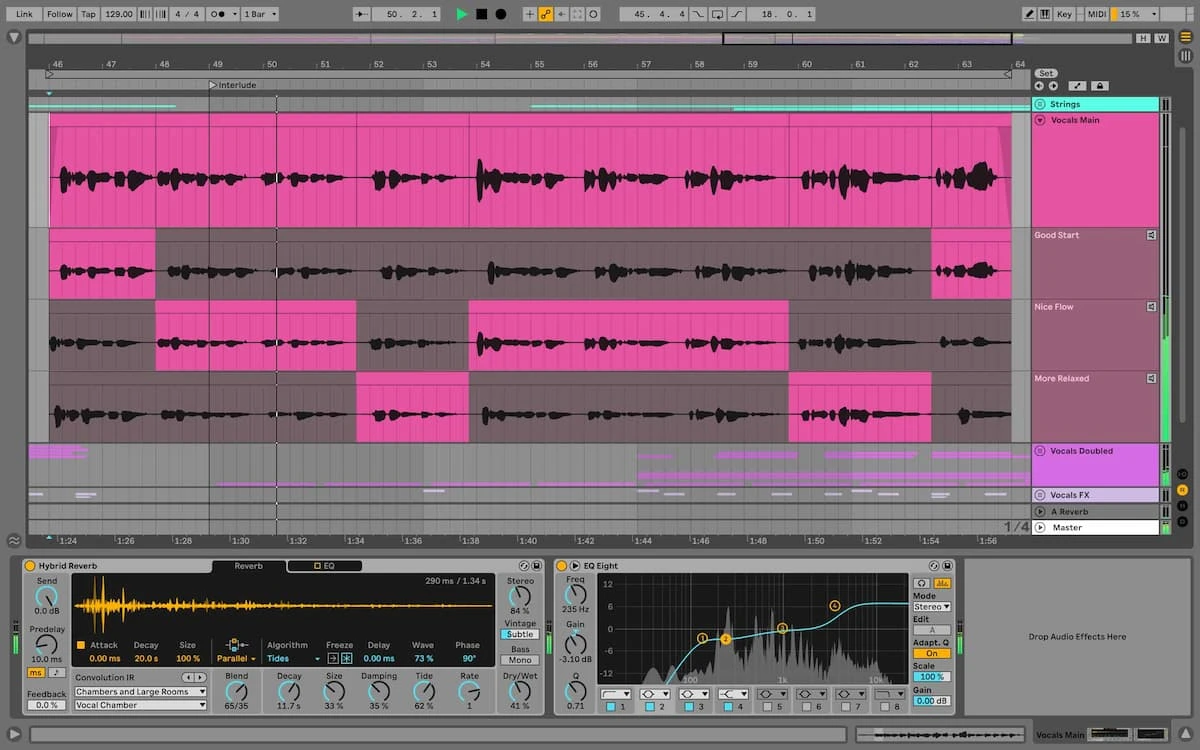
Arrangement view is the more traditional way of working, which you might recognize if you've used other audio programs. The arrangement window consists of a timeline where you can record and work with audio tracks instead of clips. One could say that session view is a place where you can gather the pieces you need, while arrangement view is the canvas where you lay out all the pieces and assemble the puzzle.  

A general positive aspect of Ableton Live's interface is that all stock plugins have a clear layout of buttons, allowing you to easily edit parameters. Moreover, they are automatically placed in the same frame, so they don't float around and clutter the screen. However, this advantage only applies to stock plugins, as additional plugins you add almost always end up being displayed in a new window.  

For many years, Live has lacked a built-in option for comping. Normally, your previous recordings are deleted when you record on the same track, so you only have the latest take. Comping means you can record multiple times on the same track over a looped area, allowing you to select the best parts from each take. This is a feature that programs like Pro Tools and Logic Pro have long had. With the latest version of Live (version 12), comping has finally been added as a feature in Arrangement view.

Ableton arrangement view 2

Additionally, you can easily connect all the knobs within the program to your MIDI controller using 'key mapping'. This means you can control almost any parameter, such as tempo, pitch, or a filter's cutoff, with your controller if it has rotatable knobs and faders.

Pros & Cons

Pros:

+ Great for live performances, with clips triggering, etc.

+ Excellent for working with beats, loops, and MIDI.

+ Easy to work with audio files and samples.

+ Comes with a large sample library (Suite Edition).

+ Good stock plugins.

Cons:

- No autotune/melodyne-like stock plugins.

- Maximum of 12 return tracks (which makes it less suitable for large projects).

Special Features:

+ Racks.

+ Changes time signatures with markers.

+ Session View + Arrangement View.

+ Lego-like workflow on the timeline.

GarageBand

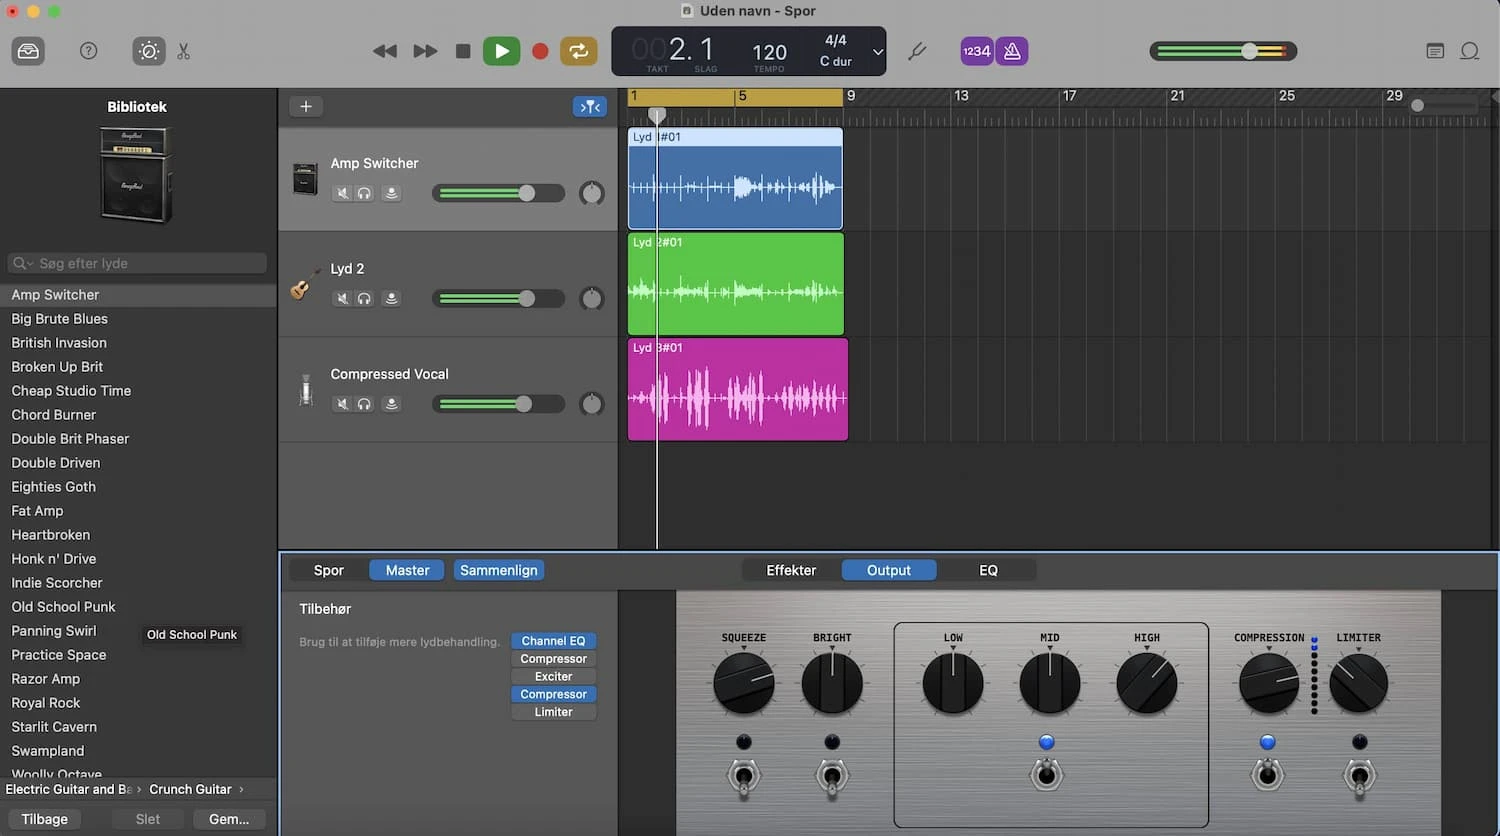
GarageBand 1

Good for:

Composition/Arranging

GarageBand is a free DAW that comes with all Macs and MacBooks. The program is aimed at beginners, but it is fully functional. However, if you want to delve into advanced production techniques, you will quickly encounter some limitations. If you are a songwriter or vocalist looking to record demos, GarageBand is a great option for an easy-to-use and accessible DAW. As a bonus, GarageBand offers free lessons in guitar and piano, which can be helpful if you are just starting to learn one of the instruments.

Workflow

The interface is quite straightforward. You have your “library” area with all your instruments, effects, and loops, a section for audio tracks, and a timeline where you can record. GarageBand does not have a mixer, so when you apply effects to your tracks, it is done through simple presets. However, it is possible to access extended settings to tweak individual effects or add your own, but these options are somewhat hidden, making the program impractical for working on large projects with many tracks and effects.  

The selection of instruments, effects, and loops is decent but limited, which encourages users to upgrade to Logic Pro as soon as they need more functionality. Fortunately, Apple has designed GarageBand’s interface to closely resemble Logic Pro’s, making the transition easier.

Pros & Cons 

+ Good for beginners  

+ Has everything you need to create songs/demos  

+ Easy transition to Logic Pro if you need more advanced functionality  

+ Built-in guitar and piano lessons.  

- No mixer  

- Limited options for advanced production  

- Available only for Mac  

Special Features

Free for Mac users

Logic Pro

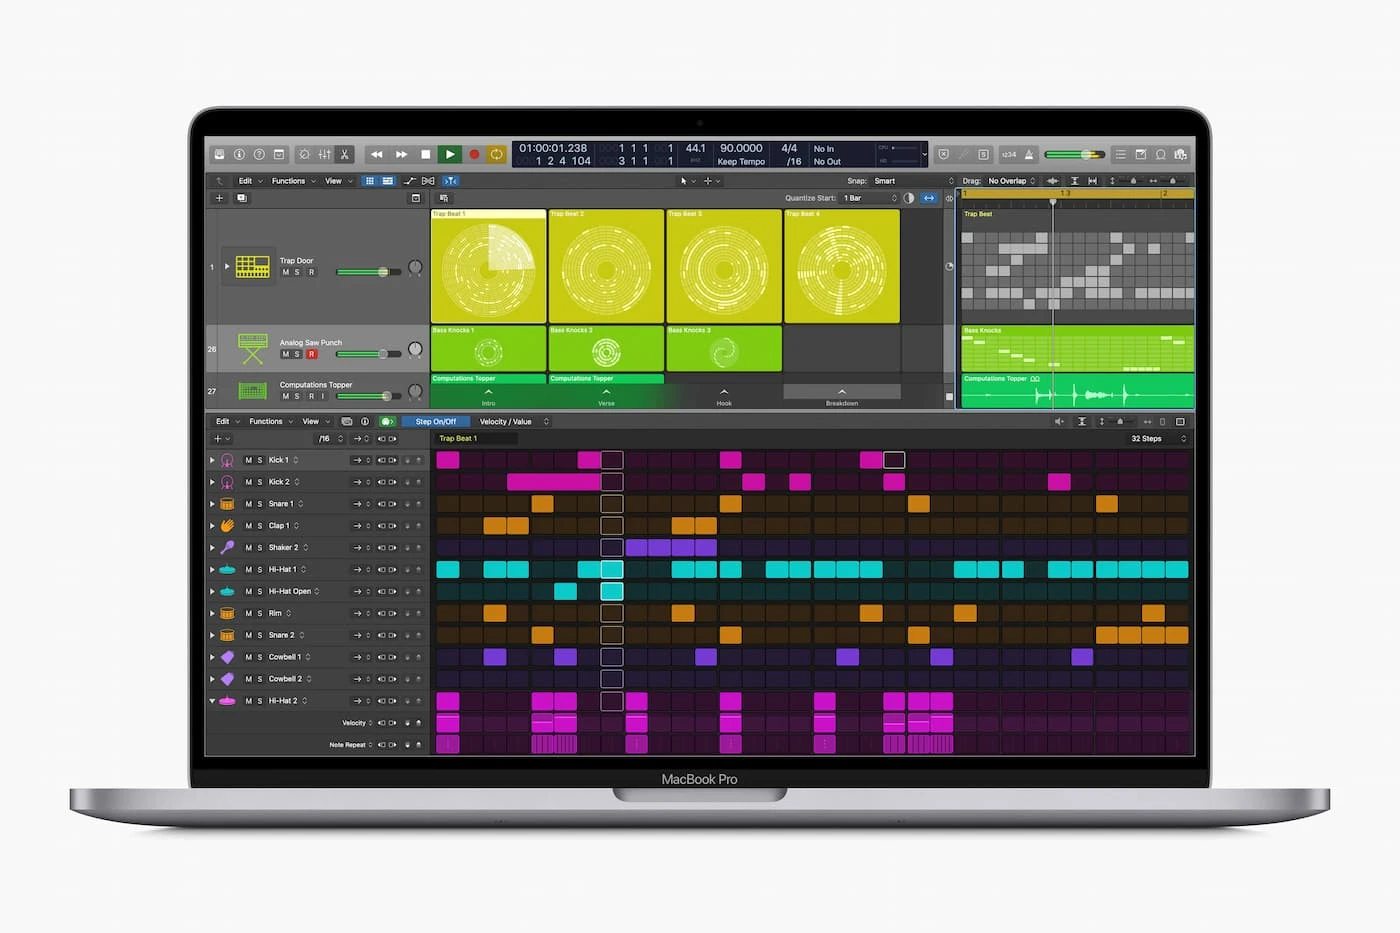
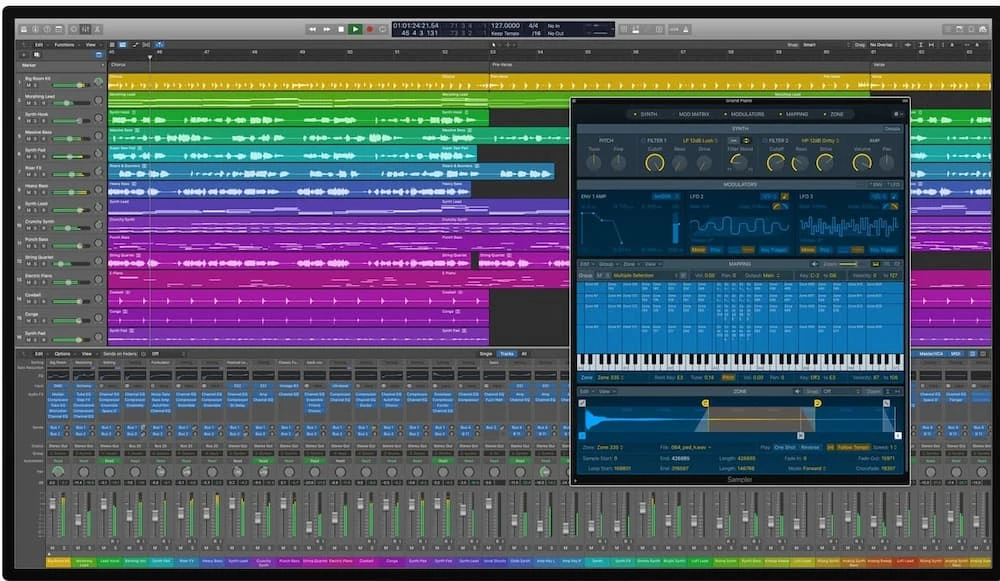
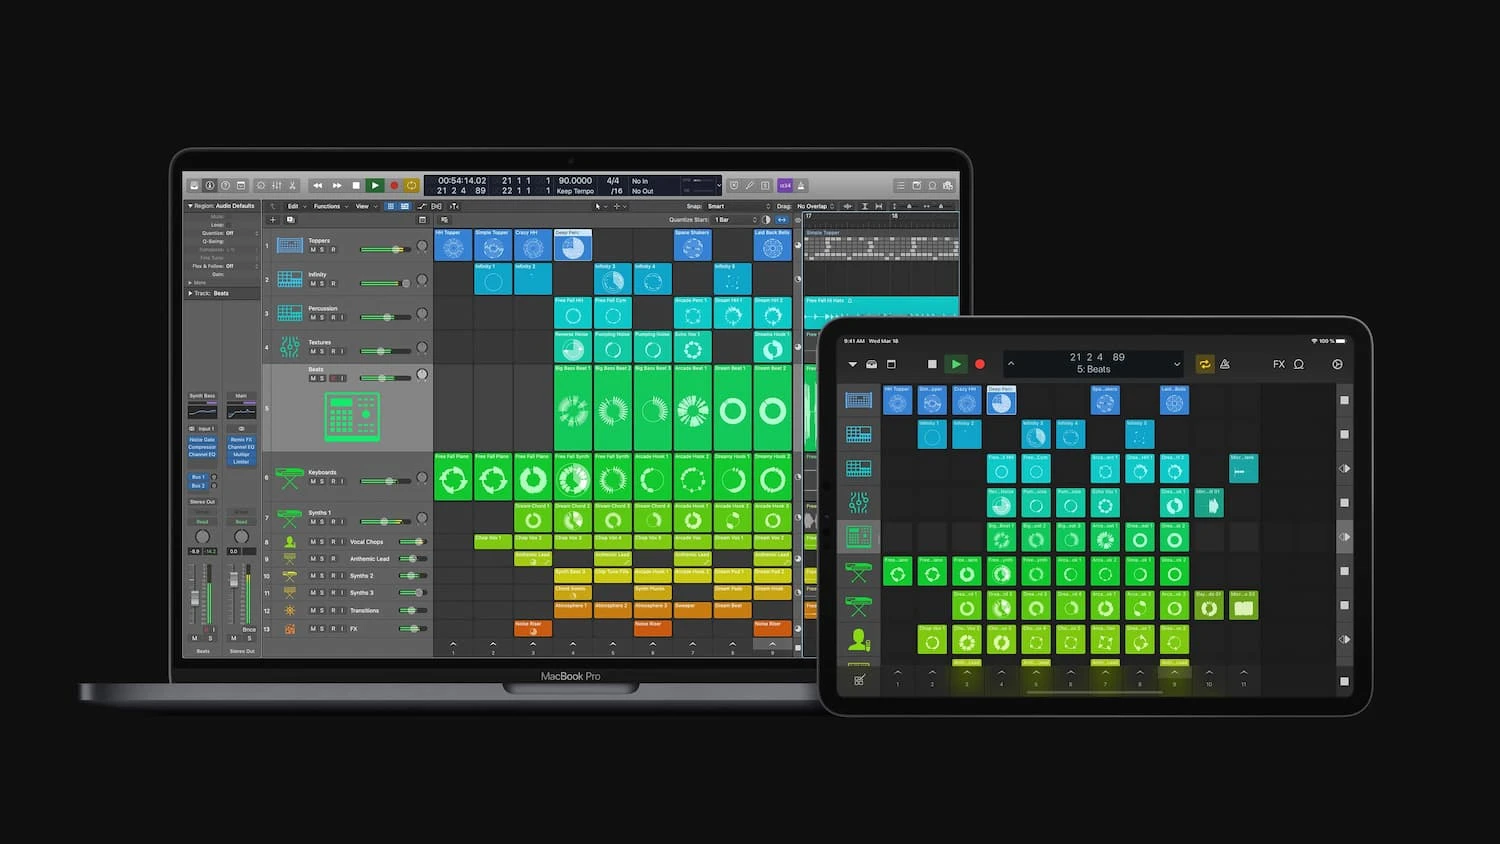
Logic Pro 1

Versions: Only one version  

Good for: Recording, beatmaking  

If you use a Mac for music production, it’s almost impossible to overlook Logic Pro as a potential candidate. A few years ago, the program was known as the go-to software for Mac users in music production.  

Previously, it seemed that Logic Pro wasn’t focused on beatmaking (not least due to the layout of the Ultrabeat drum machine) and was more geared towards recording and editing. Today, the program features solid stock plugins with advanced functionalities, and with the latest version, it can truly compete with the more beatmaking-focused DAWs on the list.

Workflow

Logic Pro’s interface has long been structured around the traditional way of working with audio on a timeline. It felt more like an alternative to Pro Tools, and the workflow was reminiscent of it, with a focus on recording audio and working with audio tracks.

Logic Pro 2

One advantage Logic Pro has over beat-focused programs is the built-in comping function. Just like in Pro Tools, you can loop a section and record multiple takes in one go. In the end, you can select the takes or the best part of each take that you want to use. Another nice benefit is that the program comes with autotune/Melodyne-like pitch correction plugins called Flex Time / Flex Pitch included.  

With the latest version of Logic Pro, it has indeed become more geared towards loop-based beatmaking, after Apple introduced features that make the program a more viable alternative to Ableton Live or FL Studio.

Logic Pro 3

Apple has also introduced a step sequencer, similar to what is found in FL Studio, functioning like old drum machines where you press buttons in a pattern that plays in a loop. They've also added Live Loops, allowing you to work with loop ‘cells’ much like Ableton Live's clips.

Pros & Cons

+ High-quality / advanced stock plugins  

+ Large sound library with loops and samples included  

+ One of the most affordable DAWs (great value for money)  

+ Free updates after purchase  

- Only available for Mac  

Special Features

Multi-effects, Pitch corrector (Flex Time / Flex Pitch), and Drum Synth.

FL Studio

FL Studio 1

Editions: Fruity - Producer - Signature - All Plugins

Good for: Beatmaking  

FL Studio is a popular DAW among beatmakers and is especially widely used in the EDM and hip-hop worlds. It can best be compared to Ableton Live, as it is focused on beatmaking and its workflow encourages working with loops.

Workflow

FL Studio’s interface uses a multi-window layout. Each part of the program is connected to different windows that can float over one another. If you're not used to navigating this way, it can feel overwhelming to manage all the windows. However, if you're comfortable with this type of navigation, it can make finding what you need quite easy.

FL’s strength lies in how it supports beatmaking. If your workflow involves building loops, there are many aspects of the interface designed to enhance that process.

Patterns

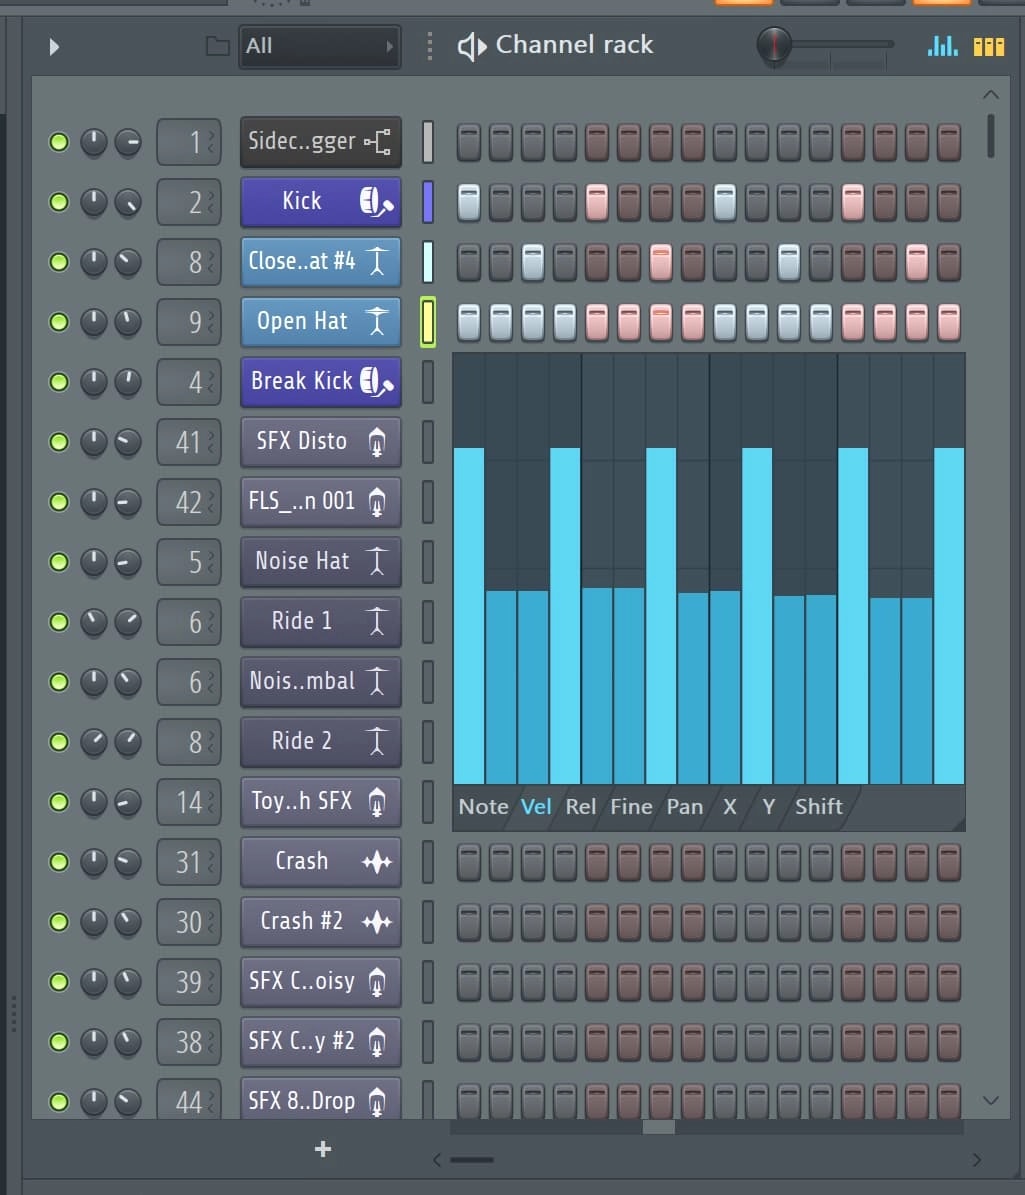
Loops are created through “patterns,” which are similar to Ableton Live’s clips. You can record MIDI melodies or chords, or use the step sequencer to "click" your rhythms in.

Step sequencer
Until recently, FL Studio was one of the few DAWs that included a built-in step sequencer.

Step sequencer

A step sequencer is a way to create rhythms, inspired by classic drum machines, where you press buttons in a pattern. It functions like a drum machine by allowing you to input the steps with the samples you want to play, which then loops continuously.

Piano Roll

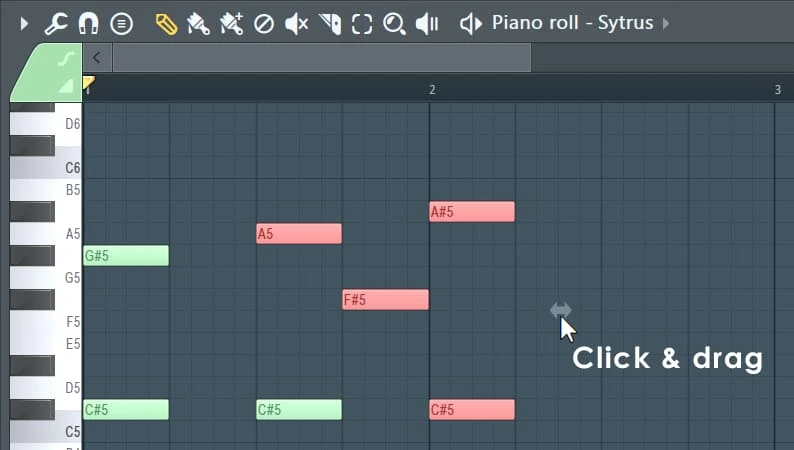
FL Studio’s Piano Roll is often highlighted as one of the best piano rolls in a DAW.

FL Studio Piano Roll

One of the reasons FL's piano roll is so popular is because it's easy to use—you can almost immediately figure out how to draw and adjust MIDI notes, even if you've never used a DAW before. 

A useful feature in the piano roll is the "ghost notes." This means if you create a melody in one channel, the note names will appear in the background when you open another channel. This makes it incredibly easy to compose melodies or riffs using the same notes as the chords you're working with. In addition to that, there are plenty of features to chop, arpeggiate, and flip entire sequences of MIDI notes, all easily accessible via keyboard shortcuts.

Gross Beat  

When talking about FL Studio, Gross Beat is a plugin that often comes up. It's especially popular among trap producers and is frequently used to spice up samples. It works by affecting the time and pitch of a pattern in a rhythmic way, for example, making your sample "glitch" in a rhythm. You can draw patterns that determine how the sound is manipulated, such as having the sound pitch down in the first half of your pattern and play twice as fast in the second half.

One minor downside compared to Ableton Live and Logic Pro is that FL Studio comes with a limited number of samples, so you'll need to build up a sample library from scratch before you can really get started. A great solution is to use Splice, a popular plugin among producers, which gives you access to millions of different samples.

Pros & Cons  

+ Lifetime free updates  

+ Excellent for working with MIDI, highly intuitive piano roll  

+ Great for beats/loops-based workflow  

- Not the best for recording  

- A bit clunky to work with audio files  

- No audio quantize feature  

- Limited number of built-in samples  

Special features:

Gross Beat  

Pro Tools

Pro Tools 1

Editions: Pro Tools First - Pro Tools - Pro Tools Ultimate

Good for: Recording (especially band recordings), mixing  

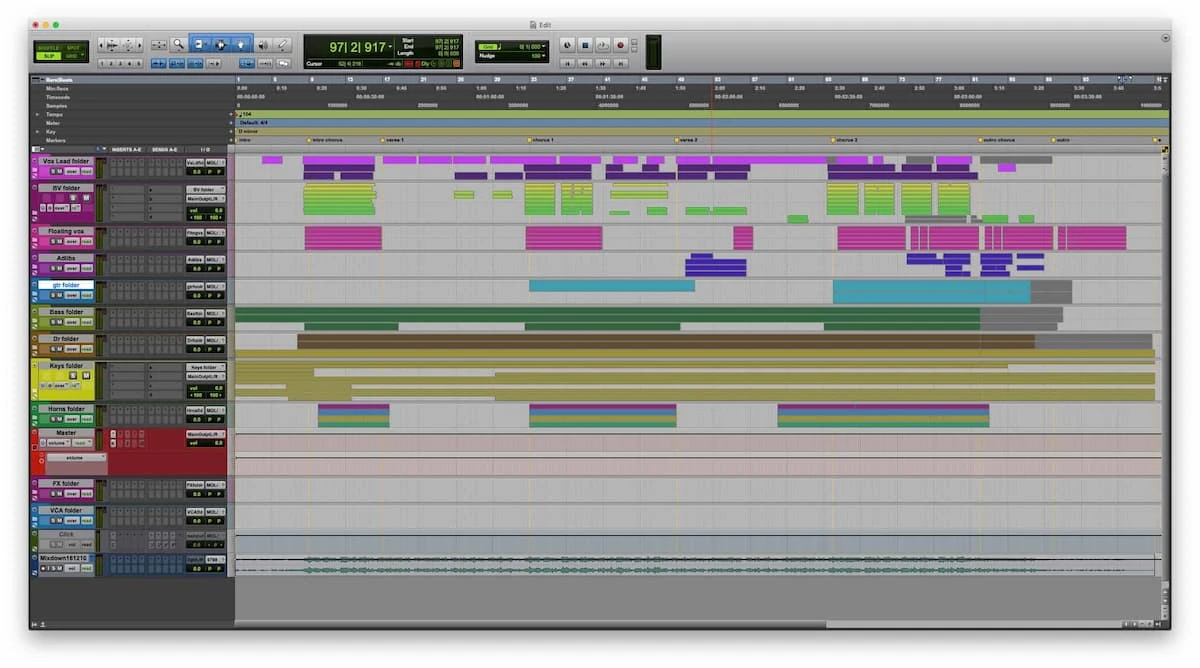
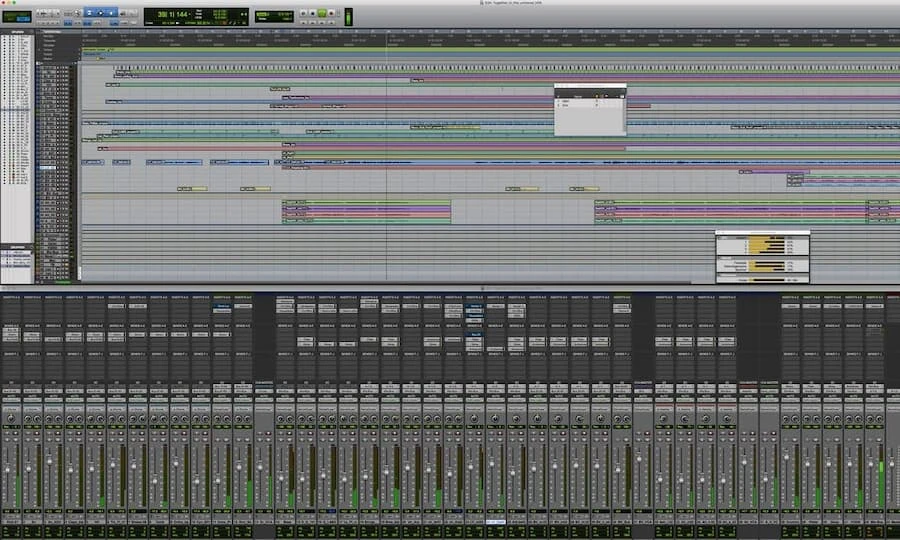
Pro Tools has long been an industry standard, and many professionals still stick to the program. It is known for being one of the most recommended DAWs if you primarily work with recording and your workflow involves many audio files. Therefore, the program is a staple in most studios around the world.  

If you primarily work with recording and need to mix a bit while recording, then Pro Tools may be a better option than some of the other DAWs on the list.  

Workflow

Pro Tools' greatest strength is recording—especially if you want to record multiple tracks at once, such as with a band. Therefore, it makes the most sense to compare it with programs like REAPER and Logic Pro, which in the past were more focused on recording and audio editing.  

The interface has two main sections: a mixer overview on the side and a timeline as you know it from other DAWs. You access the extended mixer as a separate window.

Pro Tools mixer window

Compared to the other DAWs on the list, the way you can record and work with multiple takes in a track (also known as 'comping') is quite useful—it allows you to simply record a bunch of takes in one go and then choose your favorite.  

Pro Tools is primarily designed for recording live instruments, and you can feel that in the available features and the way the interface is set up. Therefore, this DAW is not the best option on the list if you are working with loops and samples. You can certainly loop samples, for example, but the workflow does not lend itself to creating many loops.  

With that in mind, some of the other programs might be more suitable if you are making electronic, hip-hop, trap, or similar genres, as people often work with loops in these styles.

Pros & Cons

+ Industry standard for recording  

+ Possibly the best program for recording and editing audio files  

+ Melodyne included for free with the subscription  

- Clumsy MIDI workflow  

- More expensive than the others in the long run (subscription-based)  

- Interface is more suited for recording than beatmaking

REAPER

REAPER 1

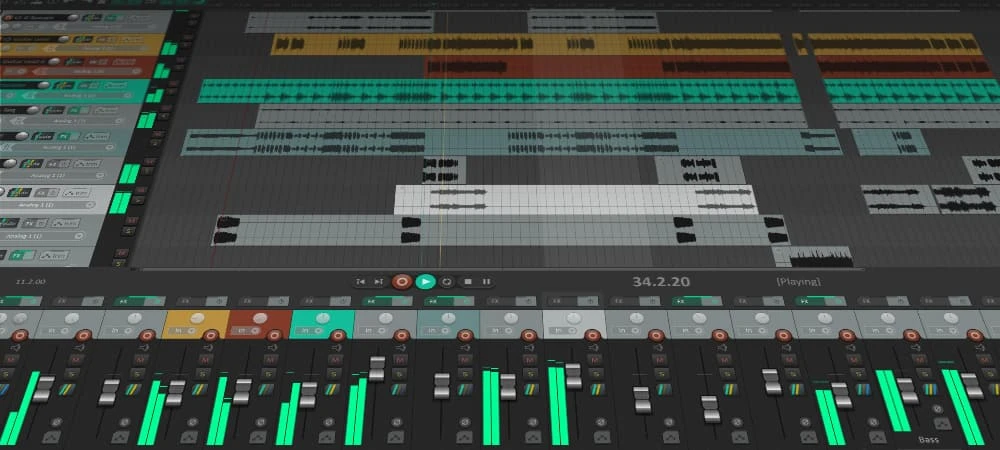
REAPER is a relatively newer DAW that has quickly gained popularity. It is not a free program, but you can try it for as long as you want without any limitations. As a private individual, you can obtain a license at a low cost, which is valid for several future versions. Many people recommend it to both new and experienced users who need an affordable program.

Workflow  

If you've tried Audacity before, you'll quickly feel at home in REAPER. It's set up in a very classic way, with audio tracks, a mixer, and a timeline. The difference from many other programs is that you exclusively work with audio tracks here. If you want to work with a loop, you mark a loop area directly on the timeline. You can simulate the workflow from FL and Ableton by recording in one track below and adding more as needed.  

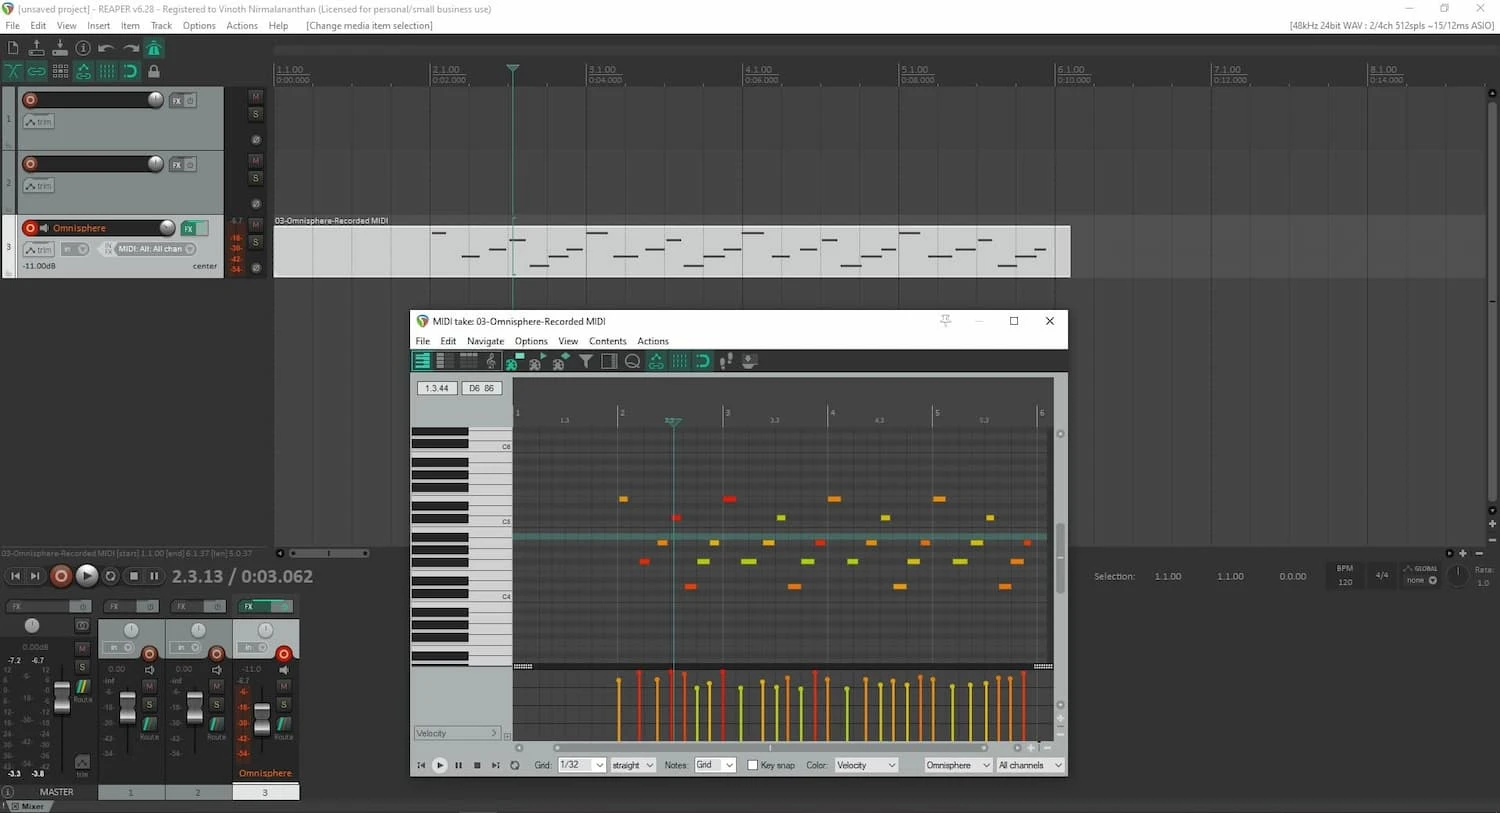
Like Pro Tools, REAPER lacks some support in the beatmaking area before it can compete with FL and Ableton. This also means that it's not as smooth to work with MIDI. Everything with MIDI happens on tracks—so you record MIDI notes directly into a track, just like you would with audio tracks. Fortunately, REAPER makes up for this with a pretty decent Piano Roll that resembles FL's. It's easy to use (once you've learned to navigate it).

REAPER Piano Roll

If you need a more straightforward DAW than Pro Tools but still want the option to advance to complex production, REAPER is a good choice.

Pros & Cons

+ Good for beginners  

+ Good alternative to Pro Tools if you only want to record vocals  

+ Unlimited trial period (and super cheap license)  

- Uninspired workflow for beatmaking  

- No instrument plugins included  

Special Features

  • Available for both Mac, Windows, and Linux  

  • Unlimited trial period 

Honorable Mentions

There are many more DAWs out there than what is listed here, each with its own strengths and weaknesses. For the sake of clarity, here is a non-exhaustive list—feel free to reach out to us if there is a specific DAW you would like us to cover.

Cubase, Reason (formerly Propellerhead), Presonus Studio One, Audacity, BandLab, Steinberg Cubase, Waveform Free, Bitwig, Cakewalk Sonar (BandLab), LMMS, Ardour.

Book the studio that suits you. Filter by location, price, equipment, and much more.
“It has never been easier to rent a recording studio.”

Book the studio that suits you. Filter by location, price, equipment, and much more.

Find all our studios right here!